Friday, June 28, 2013

Gallery Wall How-To

So I'm a big fan of photography. My sister is an excellent photographer and I try to do what she does. In this case, I let her take all the pictures, and I hung them on my wall. I love the idea of a gallery wall in the home -- especially in the family room -- where we spend a lot of our time together.

I don't claim that my way to do a gallery is perfect or even the best; but it works for me. Here's what I do:

First, I lay out all my frames on the floor and arrange them the way I want them to go on the wall. Then, I cover them with wax paper. Why the wax paper? You'll see in minute.

Next, I tape the wax paper together. Wax paper and Scotch tape don't always play nice together, but it was all I had at the time.
Then, I lay out the frames on top of the wax paper. I moved into the entry way because I needed a hard surface and my counter top wasn't big enough. I take a Sharpie and mark where the nail holes go. I also trace around the frames to give me a reference point later.
Because I have freshly painted walls and it pains me to make nail holes in those pretty walls, I use a lot of these Command Strip Picture Hangers. They are a lifesaver, wall saver, and sanity saver all in one. They make hanging pictures super easy. However, there are some things that I just feel need a nail. Like the heavier frames and the canvas.
Okay, now for the next step. I position the wax paper on the wall where I want my photo gallery to hang, and secure it with tape. Then, I turn off my ceiling fan because, well, the wax paper just wants to dance. I drive gently tap a few nails where I've made marks and then make pencil marks for the Command Strips. Then I rip the wax paper down.
After that, I hang my pictures, stand back, and admire my handiwork (after turning the ceiling fan back on, of course)!

Don't you just love that little sign? My father-in-law bought it for me, and I was so honored, I just HAD to hang it up with my gallery!

I'm planning to hang at least 1 or 2 more gallery walls in House No. 3, so I will post when I do!

Tuesday, June 18, 2013

Duvet to Drapes on a Dime

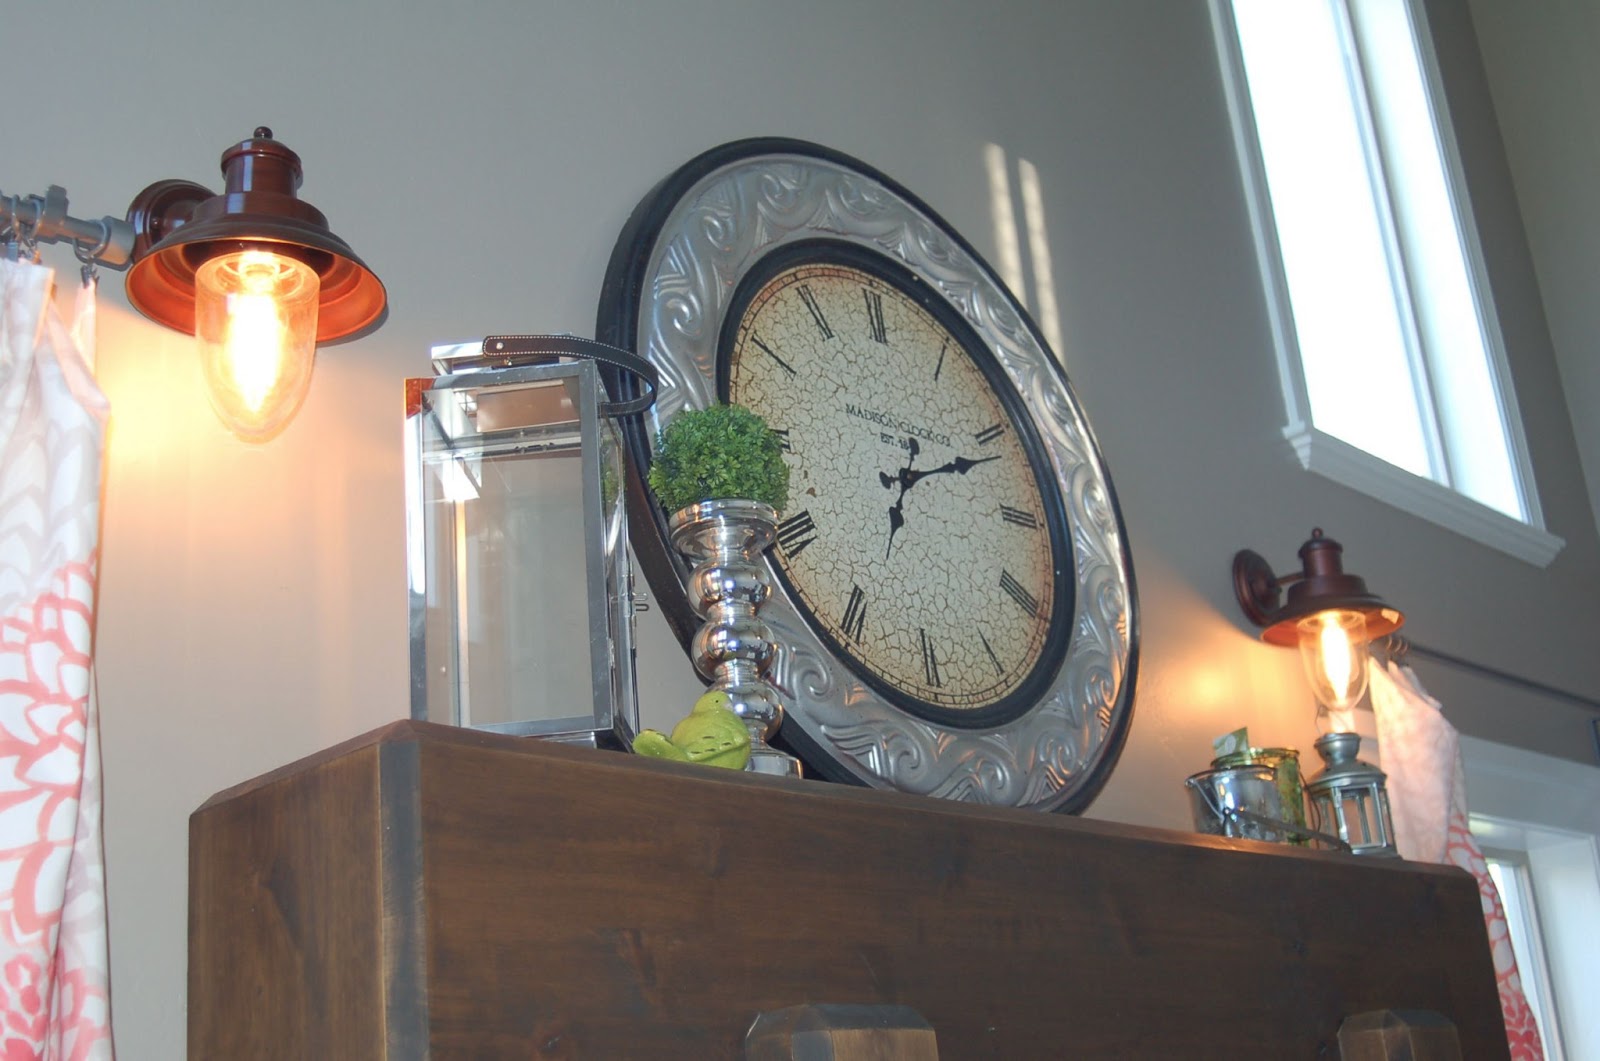
I've mentioned that I hate blinds, right? Let's talk about what I DO like. Natural light. Cool breezes blowing in through the window. Curtains that flow and billow in said breeze.

House No. 3 has lots and lots of windows that let in an enormous amount of sunlight. I guess I'm kind of like Superman -- not so much in the sense that I'm extremely good-looking or can fly -- but in the sense that I crave the warm sunshine on my skin. No sunlight=no energy for this girl! But I digress. Score one for House No. 3 and sunlight! Also, we live in the mountains, where cool breezes are plentiful.

There are 12 windows on the main floor of the house, and all but 3 are in need of curtains. I'd been thinking for quite some time about what kind of curtains I wanted. And do you know what? Curtains are hard to find! You have to get the size right. It's difficult to find a print/pattern that complements your decor. In addition to that, they're super expensive! I found curtains that I really liked, but they cost $100 per panel. That's $200 per window, people! Who can afford that? Certainly not a freelance writer!

So one day a few weeks ago, I'm walking through my favorite TJ Maxx store, feeling dejected because they didn't have any curtains I liked, when something pretty catches my eye. It's a duvet cover made up of the exact colors I wanted for my curtains! And maybe it's because my brain was in "curtain" mode, but I had a brilliant idea. Why not turn this duvet cover into curtains? I looked at the measurements and figured I could make the curtains I needed if I bought three duvet covers -- luckily, they had exactly three on the shelf!

So I brought them home and took them apart. At first I used a seam ripper, which took forever an hour to unpick one duvet cover. Then I realized at 80-inches wide, I had more than enough fabric, so I took the scissors to them.

As I've mentioned in another post, the less sewing I do, the better off my projects are. The thought of pressing, rolling, and hemming all those looooong edges was too much of a risk. After all, people are going to see these things everyday! So I called my awesome sister-in-law, who let me use her serger. We whipped through those babies so fast, I forgot to take pictures!

I ended up with 3 sets of curtains for the family room:
(Yes, the wind had blown our deck chairs all over the place that day)!

And two sets of curtains for the office:
In all, I spent $75 for 5 sets of curtains, that billow in the breeze quite nicely, thank you. Remember that ONE panel that cost $100? Besides that, I couldn't have purchased material at a fabric store for that price. And I still have plenty of fabric left over to make matching throw pillows! As far as curtain rods go, I'm convinced Ikea is the best place for those. Each rod system I purchased cost about $7 -- including the rod, brackets, and clip rings. Not too shabby.

SO -- I hope this little project inspires you to think outside the box for one of your next projects. If you do, be sure to share it with me!

Friday, June 14, 2013

Lazy Seamstress Kitchen Window Panel

Do you hate blinds as much as I do? They gather dust, they're always in my way, the cords get tangled...yeah, I hate blinds. I like curtains and drapes much better. Sure, they get dusty, too, but you can just throw 'em in the washer.

So House No. 3 has a west-facing kitchen window, and the heat has been BRUTAL in the afternoons. Also, I'm practically blinded when trying to cook dinner.

I had a little spare time the other morning, so I decided to sew up a panel for the window. I am definitely a lazy seamstress. I figure the less sewing I actually do, the better my project will look! I went to the store and bought a yard of this bright, cheerful fabric:
The dimensions of the fabric were near perfect, so I didn't cut anything at all! It was 5 inches longer and 3 inches wider than my window, so I pressed and hemmed accordingly, using a zig-zag stitch. (I didn't take pictures of any actual sewing --sorry)! The bottom edge was the selvage edge, and like I said, the less sewing I do, the better it will look. So I left it raw. I sewed a pocket hem at the top and used a tension spring rod to hang it.
I love the bright zing of color it adds to my very neutral kitchen. I just push it open to one side when I want the natural light to come in.
All said and done, this little sewing project cost $7.00 for the fabric, $3.50 for the rod, and took a little less than an hour to do!

Thursday, June 13, 2013

Welcome to the Jungle


House No. 3 sat empty for a year before we moved in. Needless to say, the landscaping got a little out of control, so we've spent the week clearing out the flower beds. I hurt my shoulder at work the other day, so I've been "supervising." There is still a lot of work to be done, and I will post pictures later. For now, I thought you'd like to see this car-sized pile of overgrowth!

Monday, June 10, 2013

Mantel (Pin)spiration

House No. 3 has a really cool mantel. When we first saw the house, I got really excited for all the possibilities this mantel held. I immediately started pinning ideas, and this was one of my favorites:


I liked the idea of continuing the lantern look on the mantel, and I wanted to give it a vintage-like feel. That meant the antler sconces had to go. If your tastes lean more toward the cabin-like, rustic kind of decor, I find nothing wrong with that. I think, like all decor, it can be well done. But what the heck is up with those creepy little claw-like things coming out of the bottom? Are the antlers trying to escape? I'll be honest, they kind of terrified everyone of us. You can click on the picture to really see the detail!

I found some great sconces on clearance at Lowes (huzzah)! They perfectly fit the vintage feel I was going for, what with those awesome old-fashioned Edison light bulbs and all. I really like the way they frame in the mantel and its contents. And then I thought, what's more vintage than mercury glass and other shiny, silvery things? So I took a few things I already had and got to work. I've had that giant clock for years. It was gold in House No. 1, then I spray painted it red for House No. 2, and now silver for House No. 3. The verdict is still out as to whether I really love it or not. I'm toying with the idea of spray painting it a matte turquoise, but for now, it will remain silver. What do you think?

So that's my pinterest-inspired project for this week. Thanks for stopping by!


Wednesday, June 5, 2013

DIY Lantern Lights

I'm in love with lanterns. I think they add a unique look to a room. House No. 3 definitely had some unique light fixtures when we bought it. Antler sconces, ceiling fans the size of cargo plane propellers... not exactly my style. We have a room that is supposed to be a formal dining/living room. However, our family needed it to be a formal dining/office. While these are two very different rooms, the room itself is actually one very long room. I figured the best way to tie them together would be to hang matching lantern light fixtures. I searched and searched, and pinned lots of lanterns. The problem was, all the lanterns I loved were at least $300. Ouch! I wondered to myself if I could simply make my own, and with a little help from Google, the answer was, "YES!" Honestly, how did we survive before the internet?

Here's what I did: I bought two of these decorative lanterns at T.J. Maxx for $20.00 each.
Then, I ordered two of these light fixtures from lightingdirect.com for $16.00 each. (They had a coupon for 10% off and free shipping)!
I took them apart and spray painted the electrical part and the mounting pieces with Krylon paint+primer.

Then, I had my hubby drill a hole in the tops of the decorative lanterns for the wires and put them all together.
Finally, we hung them (with a little elbow grease)!
Here is a "before" shot of the room (notice the ceiling fan was much too large to even fit in the picture)! And yes, that's yellow paint with tan trim.
And here is an "after" shot, with the two lanterns tying it all together:
Aren't they gorgeous?

So the breakdown goes like this: $20.00 for each T.J. Maxx lantern. $16.00 for each brass light. $4.00 for the spray paint. That's a grand total of $40.00 per light fixture!

I love the feel they add to the room. They are definitely unique, and when people ask me where I got them, I love being able to say, "I made them myself!"


Monday, June 3, 2013

As Seen on Pinterest

It's Pinterest Monday! Like many of my friends and relatives, I'm a weeeee bit hooked on Pinterest. I enjoy being creative, but I often joke that with Pinterest, I never have to have an original thought again!

Today I thought I'd share my own version of something I saw on Pinterest a while back. House No. 3 has a small powder room off the entry. It's pretty cute and has a pedestal sink. However, with a pedestal sink, that means there's no place to keep stuff! And you NEED stuff in a bathroom! Am I right?

I saw this on Pinterest and thought it was a super idea:

And here's what I did:

The rod came from Ikea. I bought it for House No. 1 and actually sort of used it in House No. 2. I picked up the baskets at Michaels for $4.00 each. I like them because they are nice and sturdy, and framed with thick wire. As for the ribbon, I just happened to have it on hand, because, well I'm a bit of a hoarder. It came wrapped around some pillows I purchased several years ago, and I just couldn't throw out a nice length of grosgrain ribbon!

The baskets are really handy. I'm keeping soap, extra towels, and toilet paper in them. My husband tried to put an ugly tub of anti-bacterial wipes in one of them, which I promptly relocated to the laundry room.

It's a simple project for a lot of convenience!